"How important is binding angle to enjoying snowboarding?"
How do I find the binding setup that's right for me?
For those of you with questions like these, this article will explain in detail the following:
- Why binding angle matters
- Recommended angle for beginners
- Setting binding angles by style
We will provide easy-to-understand explanations, especially for beginners, from the basics of binding angle to how to adjust it as you gradually improve.
We will also touch on how fine-tuning the binding angle can affect how you enjoy snowboarding.
After reading this article, you will gain some basic knowledge about binding angles and be able to find the settings that are right for you.

Why binding angle matters
Bindings are the essential equipment that connects your skis and boots.
They are also called bindings and play a role in determining the basic performance of the snowboard.
There are a variety of bindings available, from standard types to one-touch structures, and they all differ in terms of attachment method, parts, and weight.
When choosing bindings, it is important to consider compatibility with the boots you will be using.
Properly fitting boots and bindings improve power transfer to the board, maximizing snowboarding performance.
The angle can be adjusted via the circular disc in the center of the base plate, allowing for settings to suit a variety of styles.
Understanding that bindings are more than just a fixture; they are an important part of determining the quality of your ride is key to enjoying snowboarding more.
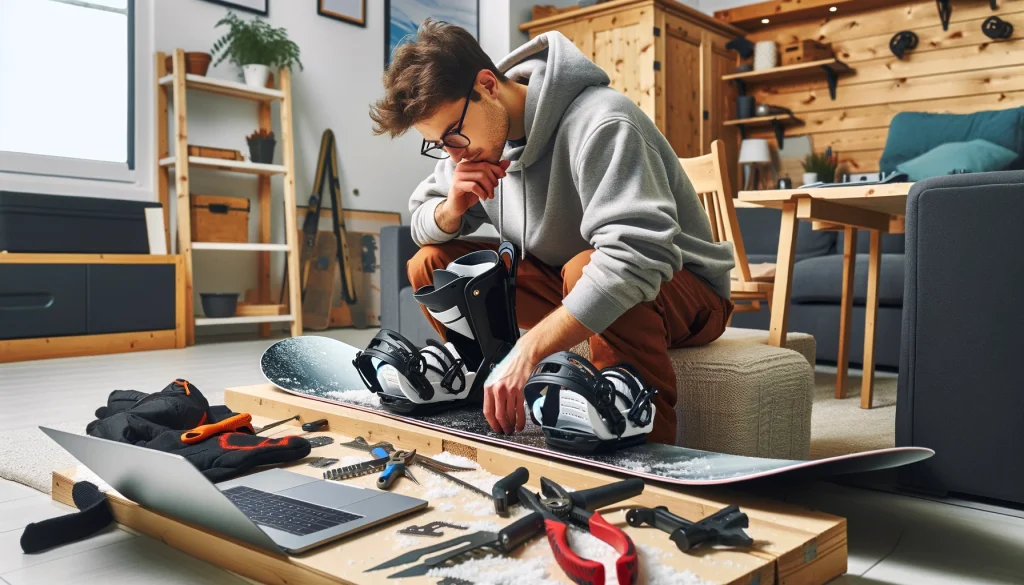
Setting procedure
Snowboard binding settings have a significant impact on your riding comfort and performance.
The setting procedure is as follows:
- Determine your stance width and temporarily attach the bindings to the board
- At this time, use the disc on the binding to adjust the angle.
- To set the centering position, check the center of gravity and adjust it with the binding disc.
It is important to make the above adjustments before attaching the bindings to the board.
When securing the bindings, it is useful to use a tape measure, a Phillips head screwdriver, and a wrench.
Once you have determined the installation position, adjust the angle of the center disc, attach the screw and washer to the hole in the disc, check the centering, and tighten the temporary screw to complete the installation.
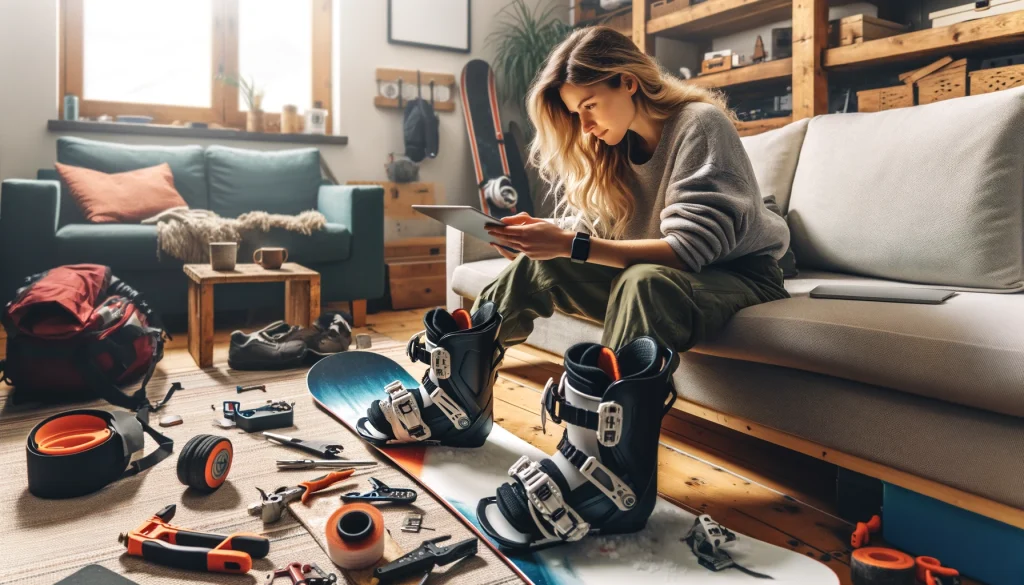
If you're unsure about your stance width or binding angle, it's a good idea to ask for advice at a snowboard shop, where they can help you set things up to suit your skill and style.
Recommended angle for beginners
For beginner snowboarders, setting the binding angle is important.
The right angle is key to improving your board's maneuverability and comfort.
The recommended binding angles for beginners are 15° to 21° for the front foot and 3° to 9° for the back foot.
This angle range is also an ideal starting point for those trying snowboarding for the first time.
When beginners practice turning on a snowboard, it is important to adjust the angle so that their ankles can move easily.
If you find it difficult to move, try making some adjustments.
The basic idea of angles is also the same for women and children.
Aim for a stance width about shoulder width and start at the same angle as a beginner.
Setting binding angles by style
We will explain the binding angles for each style below.
- Freestyle
- Gratrick
- Powder Run
- All-round
Freestyle
Setting the binding angle on a freestyle snowboard will greatly contribute to your success in gliding and performing tricks in the park.
Typical binding angles for this style are 9° to 18° for the front foot and 0° to -15° for the back foot.
Freestylers often use a negative back foot to increase flexibility during trick variations and landings.
Freestyle is specialized in skating on snow park items such as kickers (jumps), rails, boxes, and half-pipes, and adjusting the angle directly affects the execution of tricks.
For example, a negative angle setting makes it easier to assume a stance with your legs slightly outstretched, keeping your center of gravity low and allowing you to perform stylish tricks.
It is also important to adjust the binding angle so that you can glide smoothly even in a switch stance (opposite foot leading).
The most common stance in freestyle is the mirror duck stance (front foot plus, back foot minus the same number).
This allows you to perform a wider range of tricks and ski in multiple directions, allowing you to enjoy the fun of snowboarding even more.
Gratrick
Gratori (Grand Trick) is a style of snowboarding that uses the terrain and items to perform tricks.
The optimal binding angle settings for this style are 12° to 21° for the front foot and 0° to -12° for the back foot.
In particular, the duck stance, in which the hind legs are swung in the negative direction, is often used.
The duck stance makes it easier to keep your center of gravity in the center of the board, increasing stability when boarding fakie (weak foot first).
Generally, with a duck stance, it's easier for your body to face forward when doing fakie, but when doing regular (normal foot leading) your back foot swings back, which can make it difficult to control your edges when turning.
Also, since the knee of the hind leg is subjected to a lot of strain when landing from the jump, it is not recommended for people with poor knee condition.
To enjoy freestyle tricks, it's important to fine-tune the angle of the bindings and determine the ride feel.
A standard stance angle is +3° to 18° for the left foot and -3° to 18° for the right foot.
This makes it easier to perform various tricks such as jibs and jumps.
When trying out freestyle snowboarding, it's important to find a style that suits you by fine-tuning the angle of your bindings.
Powder Run
Setting the binding angle specifically for powder runs (riding on ungroomed snow) is important for smooth handling and stability even in deep snow.
Typical settings are 15° to 36° for the front foot and 18° to minus 6° for the back foot.
This angle setting makes it easier to shift the center of gravity to the rear, improving the floating feeling and maneuverability in powder snow.
When setting the angle for powder runs, it is important to increase the range of motion of the back foot, which allows for powerful edging and extended turns.
One way to set your stance width is to use the basic position printed on your board.
This setting improves free-riding performance and makes it easier to control the board smoothly in powder.
All-round
The all-around style binding angle setting is designed to accommodate a variety of riding situations.
For the all-round style, it is common to set the front angle at 15 to 21 degrees and the rear angle at 3 degrees to -6 degrees.
This means that everyone from beginners to advanced skiers can enjoy skiing on any course or park.
In all-mountain style, duck stance (front foot positive, back foot negative) and forward stance (back foot slightly positive) are commonly used.
Snowboarders who frequently switch ski are better served with a duck stance such as +18°/-9° or +18°/-6°.
On the other hand, if you don't do much switch skating, a forward stance such as +18°/+3° or +15°/+3° is ideal.
This all-around setting combines stability on the main row with maneuverability on the fakie row, making it suitable for any snowboarding situation.
How to find the binding angle that suits you
There are three ways to find the binding angle that suits you:
- Bending and stretching
- Spread your arms and walk around
- Put your weight on your toes and heels
Bending and stretching
Bending and stretching exercises are effective in finding the binding angle that suits you best when snowboarding.
The basic posture for snowboarding is the same regardless of style or slope conditions: stand naturally in the center of the board with your arms outstretched for balance.
At this time, bend your knees slightly and relax them while bending and straightening them, adjusting so that your weight is evenly distributed on both feet.
After adjusting the angle of the bindings, the key is whether you can bend and stretch without straining yourself.
Even if you have adjusted the angle to suit your ideal style, if you feel uncomfortable, such as not being able to bend your knees as you want or losing your balance when stretching your legs, you will need to adjust the angle.
Bending and stretching at a vertical angle puts strain on the knees, and bending at an angle with your legs slightly outwards puts strain on your calves and thighs.
Find a position where you can naturally bend and straighten your knees, and then adjust the angle to get closer to your ideal style.
Through the process above, you will be able to find the binding angle that works best for you.
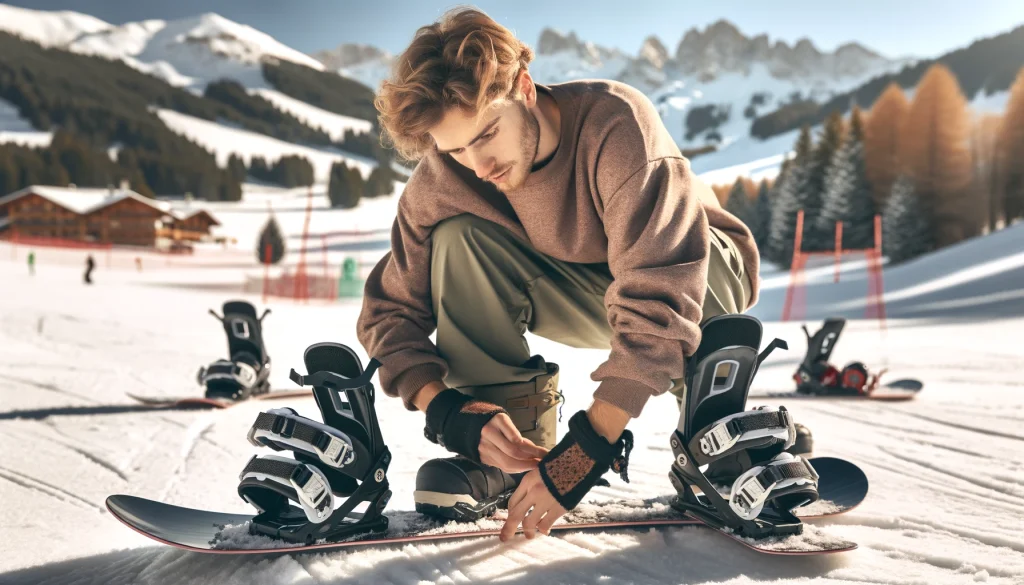
Spread your arms and walk around
The second way to find your binding angle is to spread your arms and rotate your body.
When snowboarding, you spread your arms out to maintain balance and use your upper body to shift your weight when turning; this movement can also help you determine whether the angle of the bindings is right for you.
After adjusting the angle of the bindings, put on your boots, secure your feet in the bindings, and try standing at that angle.
Spread your arms and turn your body left and right.
If you feel no discomfort or pain when turning to either the left or right, or if you can turn easily to one side only, then you may need to adjust the angle of the binding.
Snowboarding with poor balance puts unnecessary strain on your body.
By spreading your arms out like this and rotating, you can get a feel for the range of angles that are comfortable for your body.
Put your weight on your toes and heels
A third way to find the best binding angle for your snowboard is to place your weight on your toes and heels.
In snowboarding, controlling the edges of the board is important, and this requires shifting your weight to your toes and heels.
After adjusting the angle of the bindings, get on the board and try shifting your weight alternately between your toes and heels.
This test will help you determine if the binding angle is right for your style and body.
For example, if you find it difficult to balance or feel unsteady when putting your weight on your toes or heels, the angle of your bindings may need to be adjusted.
Conversely, if you can shift your weight smoothly in either direction, the angle is likely correct.
By smoothly shifting your weight from your toes to your heels, you can improve your edge control when turning, making for safer and more comfortable riding.
Summary of snowboard binding angles
The binding angle for snowboarding varies depending on your riding style and body type, and there is no correct answer.
The optimal angle varies from person to person, especially for women and children.
If you are aiming to improve your freestyle skills, it is recommended that you try changing the angle little by little.
It's a good idea to refer to the recommended angles for each style and the angles used by professional snowboarders, try out some on the slopes, and then fine-tune to suit your preferences.
Keep these points in mind, find the settings that suit you, and enjoy snowboarding.